Ball Inflation Tips
1. Lubricate the Needle
Before inflating, apply a small drop of silicone oil or petroleum jelly (Vaseline) to the pump needle or valve. This helps protect the valve and makes needle insertion easier.
2. Insert the Needle Correctly
Insert the needle straight into the valve at a 90° angle. Avoid forcing or angling the needle, as this can damage the valve.
For fully deflated balls, gently squeeze and manipulate the outer cover to slightly separate the internal surfaces. This helps guide the needle into the valve without scraping or puncturing the bladder.
3. Inflate to the Recommended Pressure
Always inflate the ball to the pressure printed near the valve. Over-inflation can strain stitching, distort the ball's shape, and reduce its lifespan.
Use a pump with a built-in pressure gauge or check the pressure regularly with a separate gauge.
Inflation Tip:
Sports balls may display pressure in PSI, kPa, or Bar. Make sure you are using the correct unit, as confusing PSI and kPa can lead to severe over-inflation.
4. Allow New or Flat Balls to Settle
If inflating a brand-new or completely flattened ball, inflate it to approximately 75% of the recommended pressure and leave it for a few hours. Then inflate it to the full recommended pressure. This allows the bladder and casing to settle evenly and helps maintain the ball's shape.
Tips:
- Avoid exposing your ball to extreme temperatures. Never leave it in a car boot or in direct sunlight, especially during hot Australian summers.
- Use your ball on suitable playing surfaces only.
- Do not sit, stand, or place heavy objects on your ball.
- Regular use helps keep the ball in good condition.
- Keep your ball dry when not in use.
- Never intentionally over-inflate a ball to "stretch" it.
Common Ball Issues and Causes
Splitting or Tearing at the Seams
Seam splits or tears are usually caused by:
- Over-inflation
- Exposure to extreme heat or temperature changes
- Sitting or standing on the ball
- Use on rough or abrasive surfaces
These factors place excessive stress on the ball's materials, causing the outer casing or seams to weaken and eventually fail.
Staff Picks
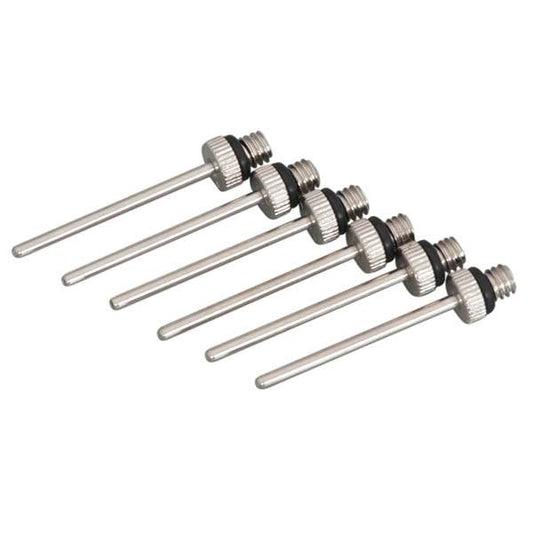
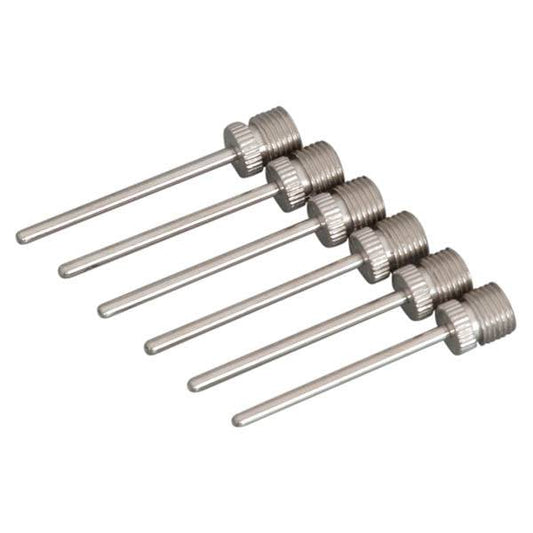
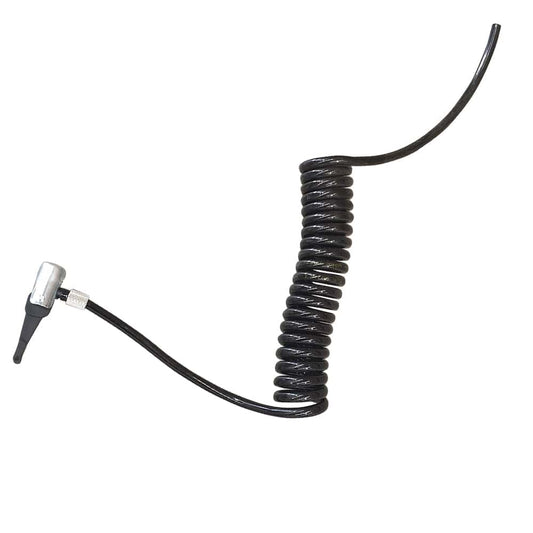
HART Inflating Needles - Pack of 6
- $3.50incl. GST
-
$3.50 - $3.50incl. GST
- (-0%)
- Unit price
- per

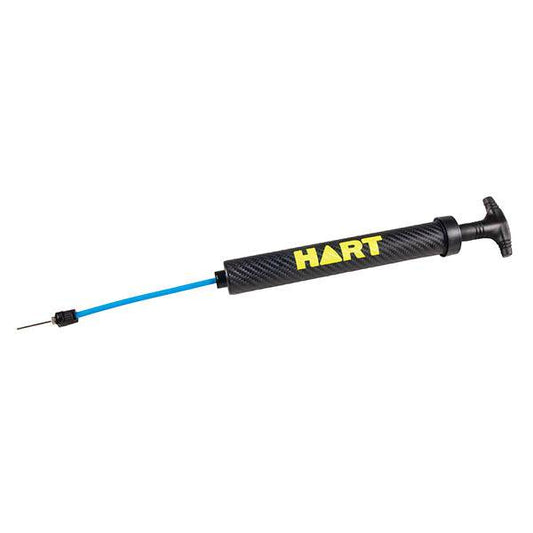
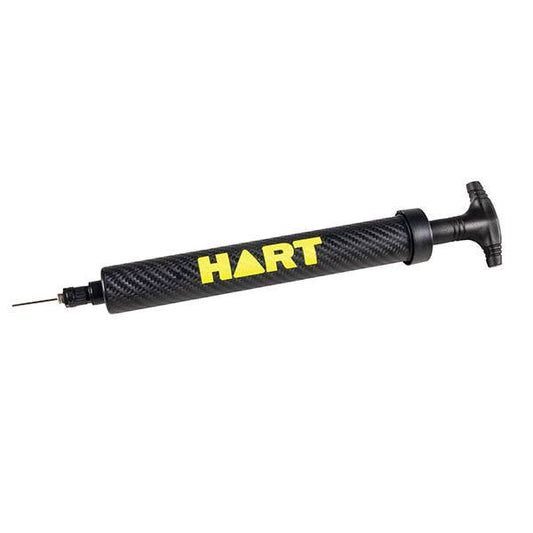
HART Hand Pump
- $7.90incl. GST
-
$7.90 - $7.90incl. GST
- (-0%)
- Unit price
- per
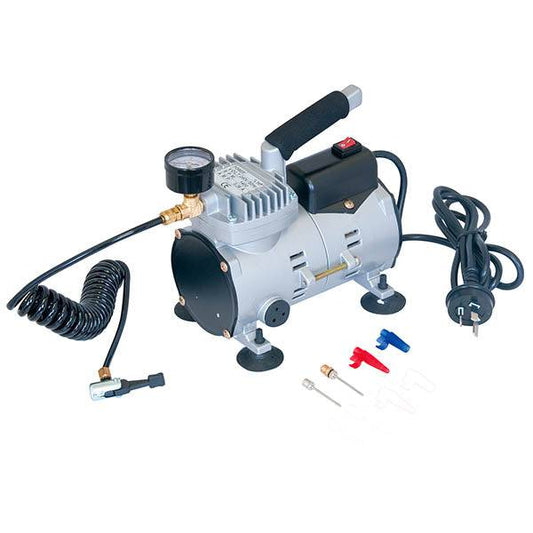

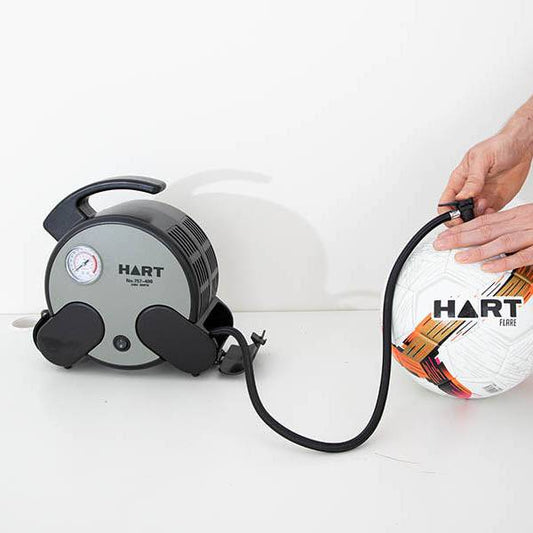
HART Electric Compressor
- $369.00incl. GST
-
$369.00 - $369.00incl. GST
- (-0%)
- Unit price
- per
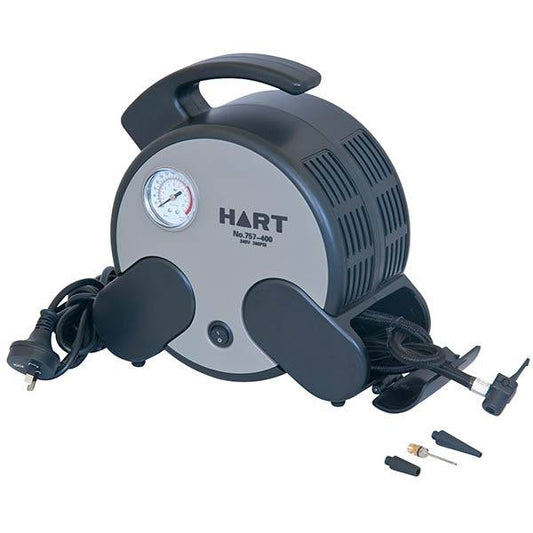
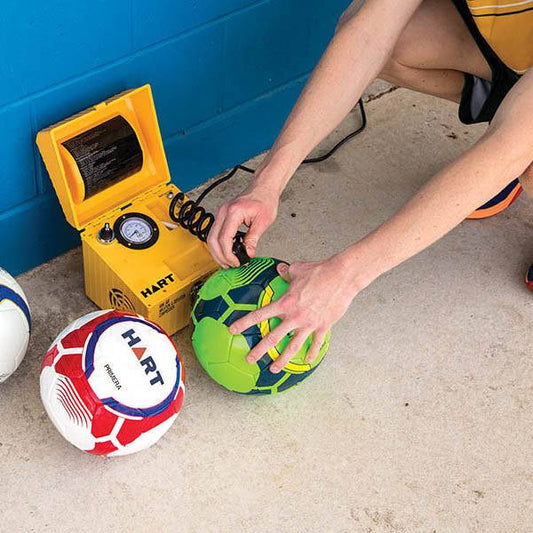
HART Air Compressor
- $289.00incl. GST
-
$289.00 - $289.00incl. GST
- (-0%)
- Unit price
- per
HART Dual Action Pump with Retractable Hose
- $18.90incl. GST
-
$18.90 - $18.90incl. GST
- (-0%)
- Unit price
- per

HART Super Inflator Compressor
- $399.00incl. GST
-
$399.00 - $399.00incl. GST
- (-0%)
- Unit price
- per
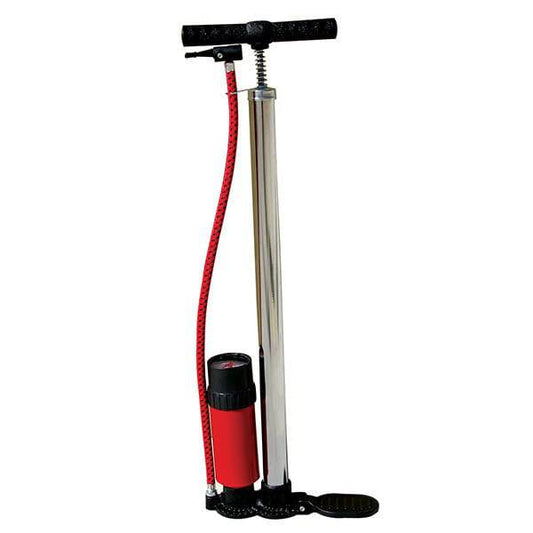
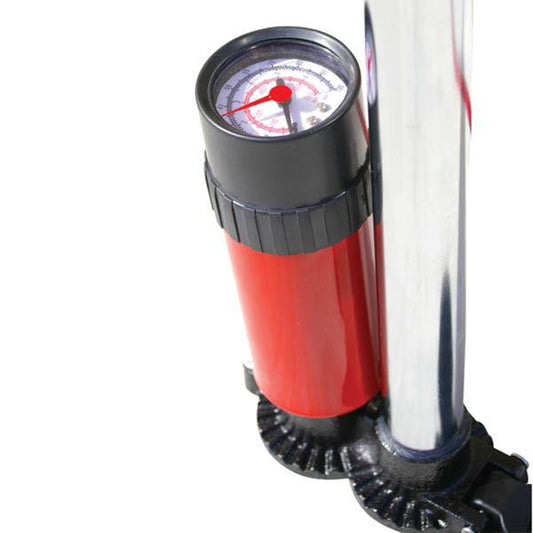
HART Stirrup Pump with Gauge
- $39.90incl. GST
-
$39.90 - $39.90incl. GST
- (-0%)
- Unit price
- per
HART Deluxe Compressor Hose
- $22.00incl. GST
-
$22.00 - $22.00incl. GST
- (-0%)
- Unit price
- per